
Start with what matters to you
You want a shelter that feels like part of the vehicle, not an awkward add-on. Think about how you’ll use it: short overnight escapes, multi-day routes, or long roadside rests. If you lean on your car for storage or a sleeping platform, prioritize attachment points, footprint fit, and quick setup. Check your packing list against your preferred setup—packable stove, insulated pad, and a compact light—and while you’re sorting gear, glance at compatible car camping equipment so nothing forces a late-night improvisation.

What “ultralight” actually means for real trips
Ultralight reduces carry burden but adds constraints. You’ll trade bulk for fewer redundancies: lighter fabrics, thinner poles, fewer zippers, smaller vestibules. Expect shelter fabrics in the 20–30 denier range or taped seams over heavy seam sewing. Look for a clear hydrostatic head rating—1500–3000 mm is typical for reliable rain protection on short trips. Ask: can you tolerate a minimal vestibule for faster pitching, or do you need space to keep wet boots out of the sleeping area? Decide this before shopping; the right compromise keeps nights dry and mornings less frantic.
Design elements that keep the tent integrated with your car
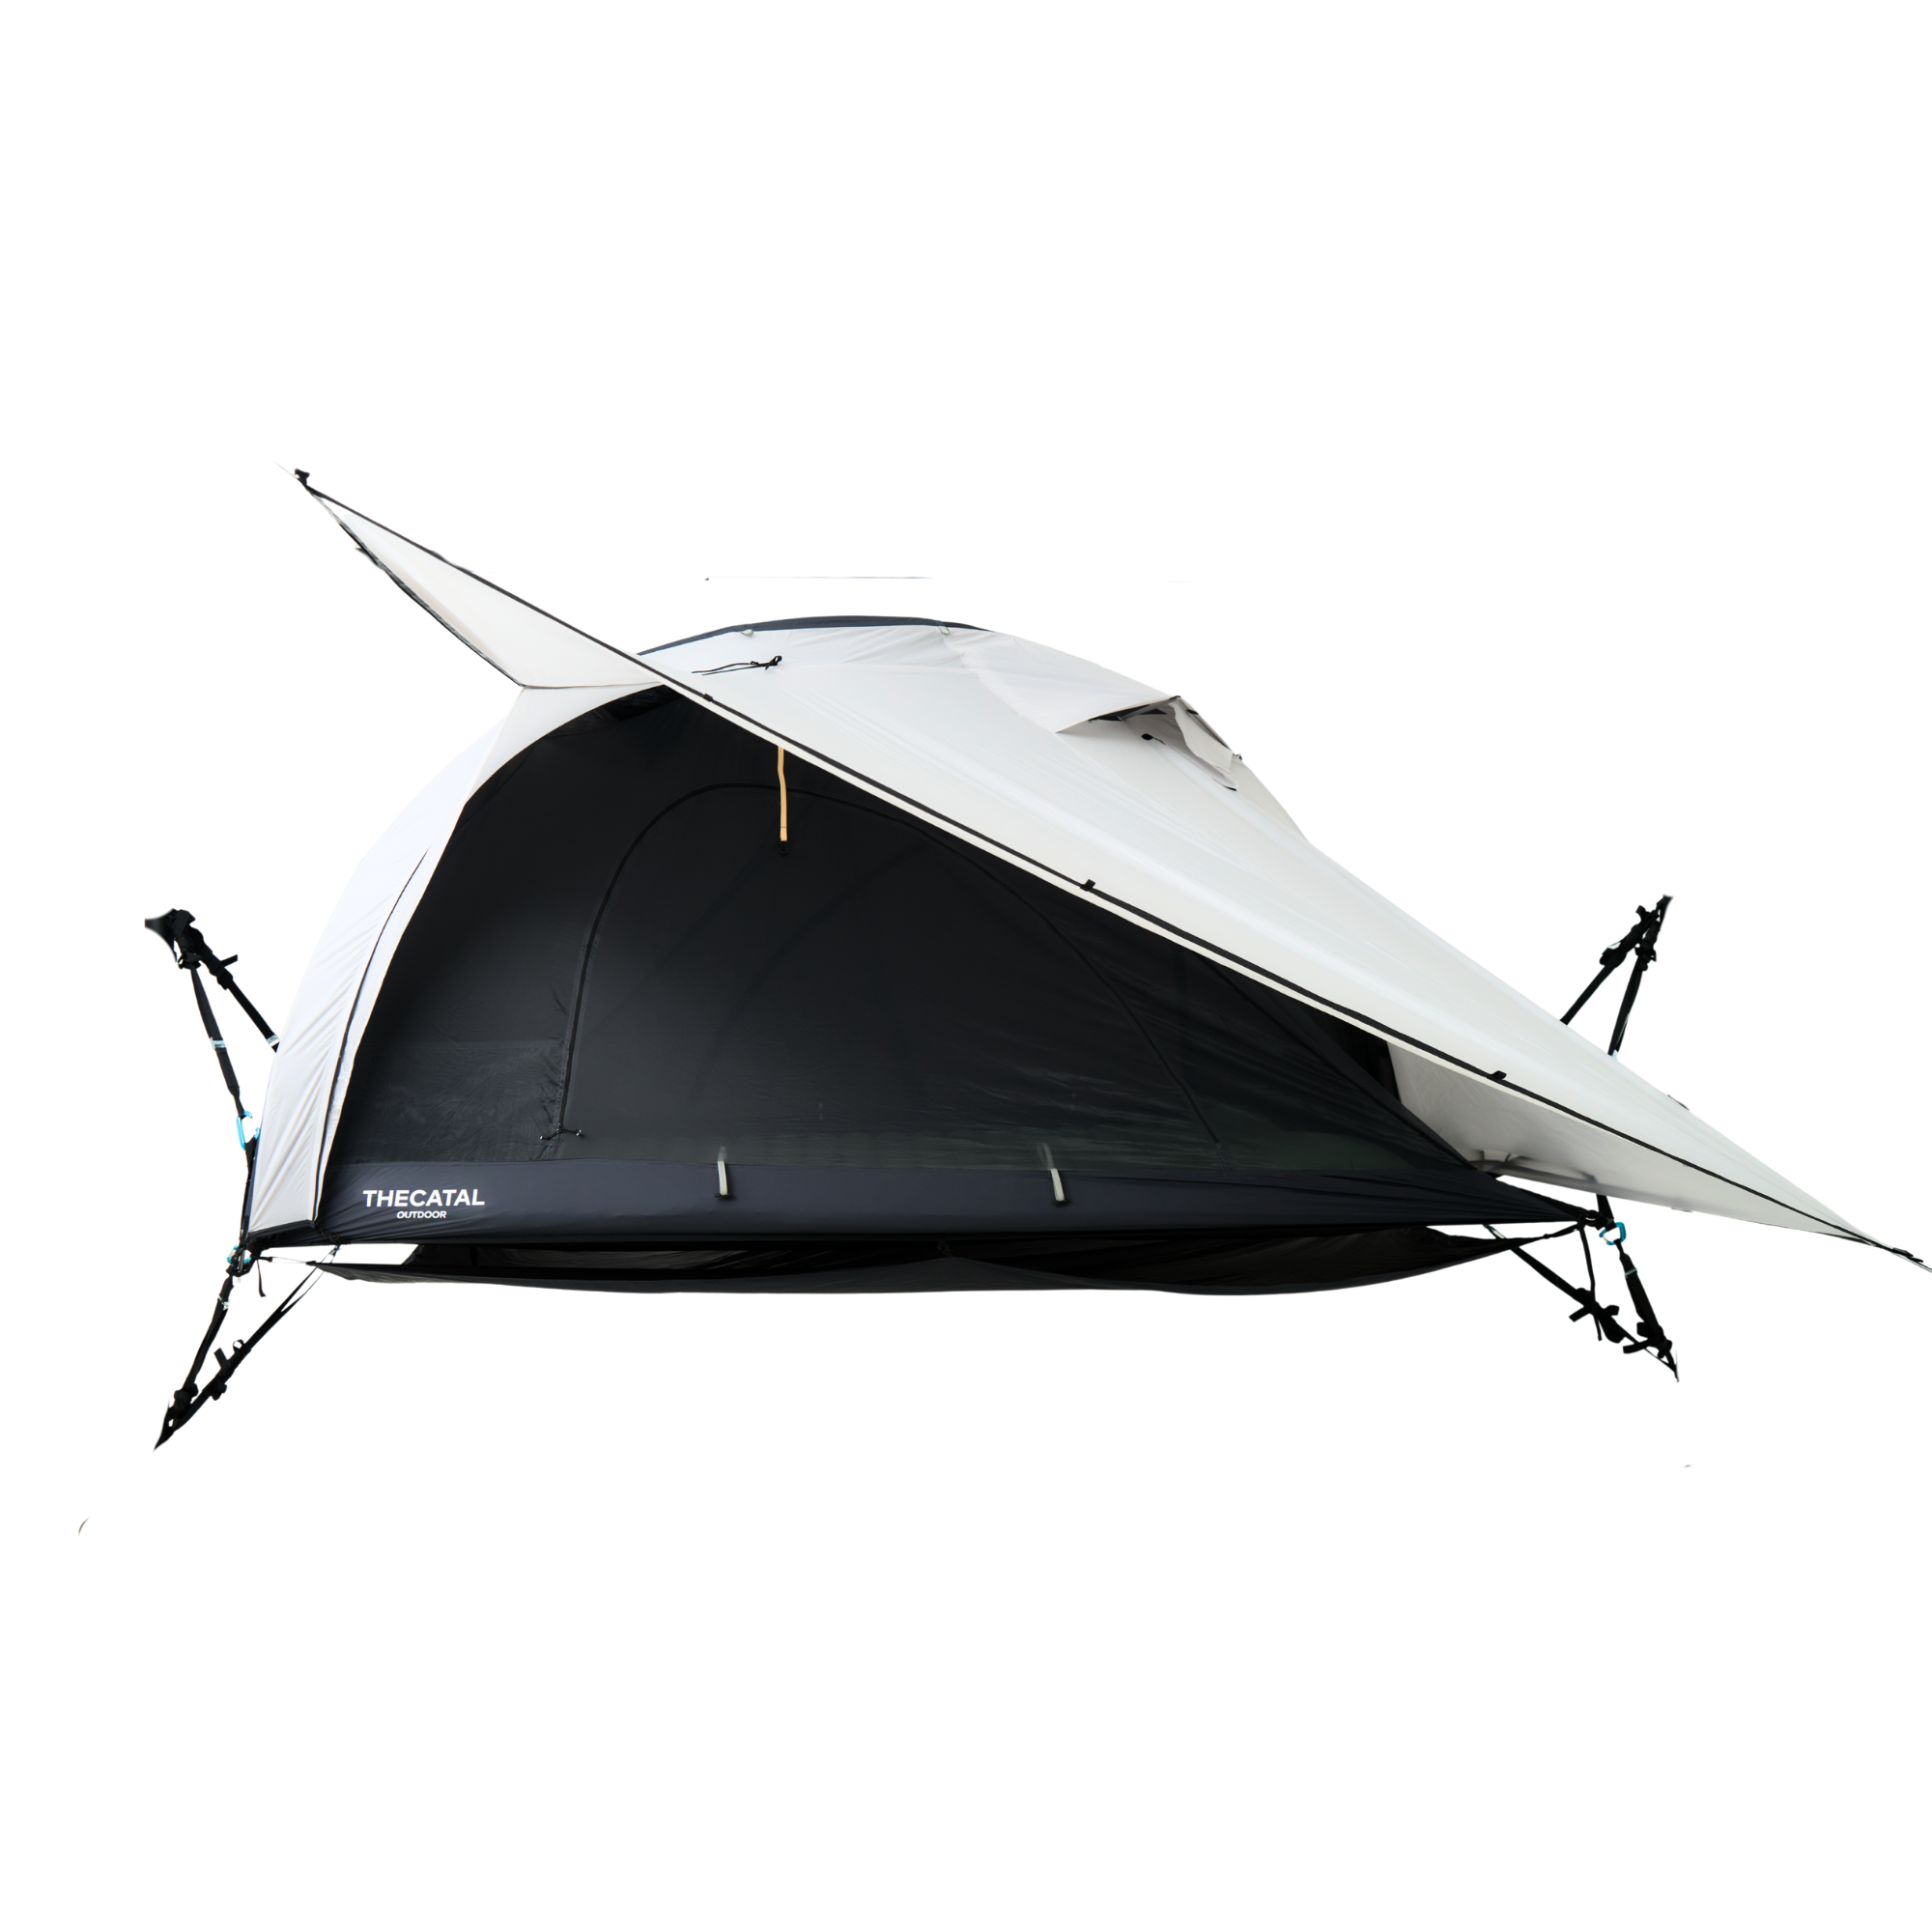
Successful car-anchored designs attach securely without forcing awkward body positioning. Key features: adjustable vehicle straps that clear bumpers and roof rails, a low-profile tailgate connection for crossovers and trucks, and modular vestibules that can clip off when you want a lighter configuration. Pay attention to how poles load into fabric channels—snap-in systems are faster; continuous pole sleeves can be quieter in wind. Evaluate footprint shape against your hatch or roofline. A mismatch means constant tension adjustments and a tired setup by day two.

Charging, power flow, and one field test that taught us a lot
Power matters when your lights, pump, or small heater run off the car. I field-tested an electric car tent during an EV-supported overnight demo in Moab, Utah, and learned three practical rules: plan for battery draw over several hours, route cables where they won’t pinch or trip, and prioritize vents around charging equipment to avoid heat buildup. If you’ll often camp near a charge point, keep the tent’s electrical access simple—sealed grommets and weatherproof cable ports beat jury-rigging every time.
Common pitfalls people overlook
Don’t ignore how the vehicle’s shape affects tension and water run-off. A roofline that slopes away from an attachment can pull seams open during wind gusts. Skipping ventilation causes condensation; rely on mesh panels or adjustable vents even in cold weather. Over-prioritizing weight sometimes removes redundancy—pack a compact tarp or a few extra guylines so a single pole failure doesn’t end the trip. Finally, always test-pitch the system at home once; small problems are easier to fix in daylight.
Alternatives to consider fast
Rooftop tents give height and simplicity but add wind drag and weight. A separate freestanding ultralight is versatile for backcountry but sacrifices vehicle integration. A car awning adds covered living space but often lacks sealed sleeping areas. Match the solution to where you sleep most: paved lots and festival grounds favor awnings or car-tethered tents; backcountry favors lighter freestanding shelters.
Decide with clarity, not impulse
Choose by scenarios: if most nights start and end from your car, pick secure attachment mechanisms and simple electrical access; if you carry a lot on foot from car to campsite, favor lower weight and faster pack-up. A good fit removes friction from trips and keeps your attention on the route, not the shelter. For practical gear that lines up with these priorities, the product range at THECATAL shows how design details translate to fewer setup headaches and more reliable nights outdoors.