
Why hotspot-free illumination matters for riders and operators
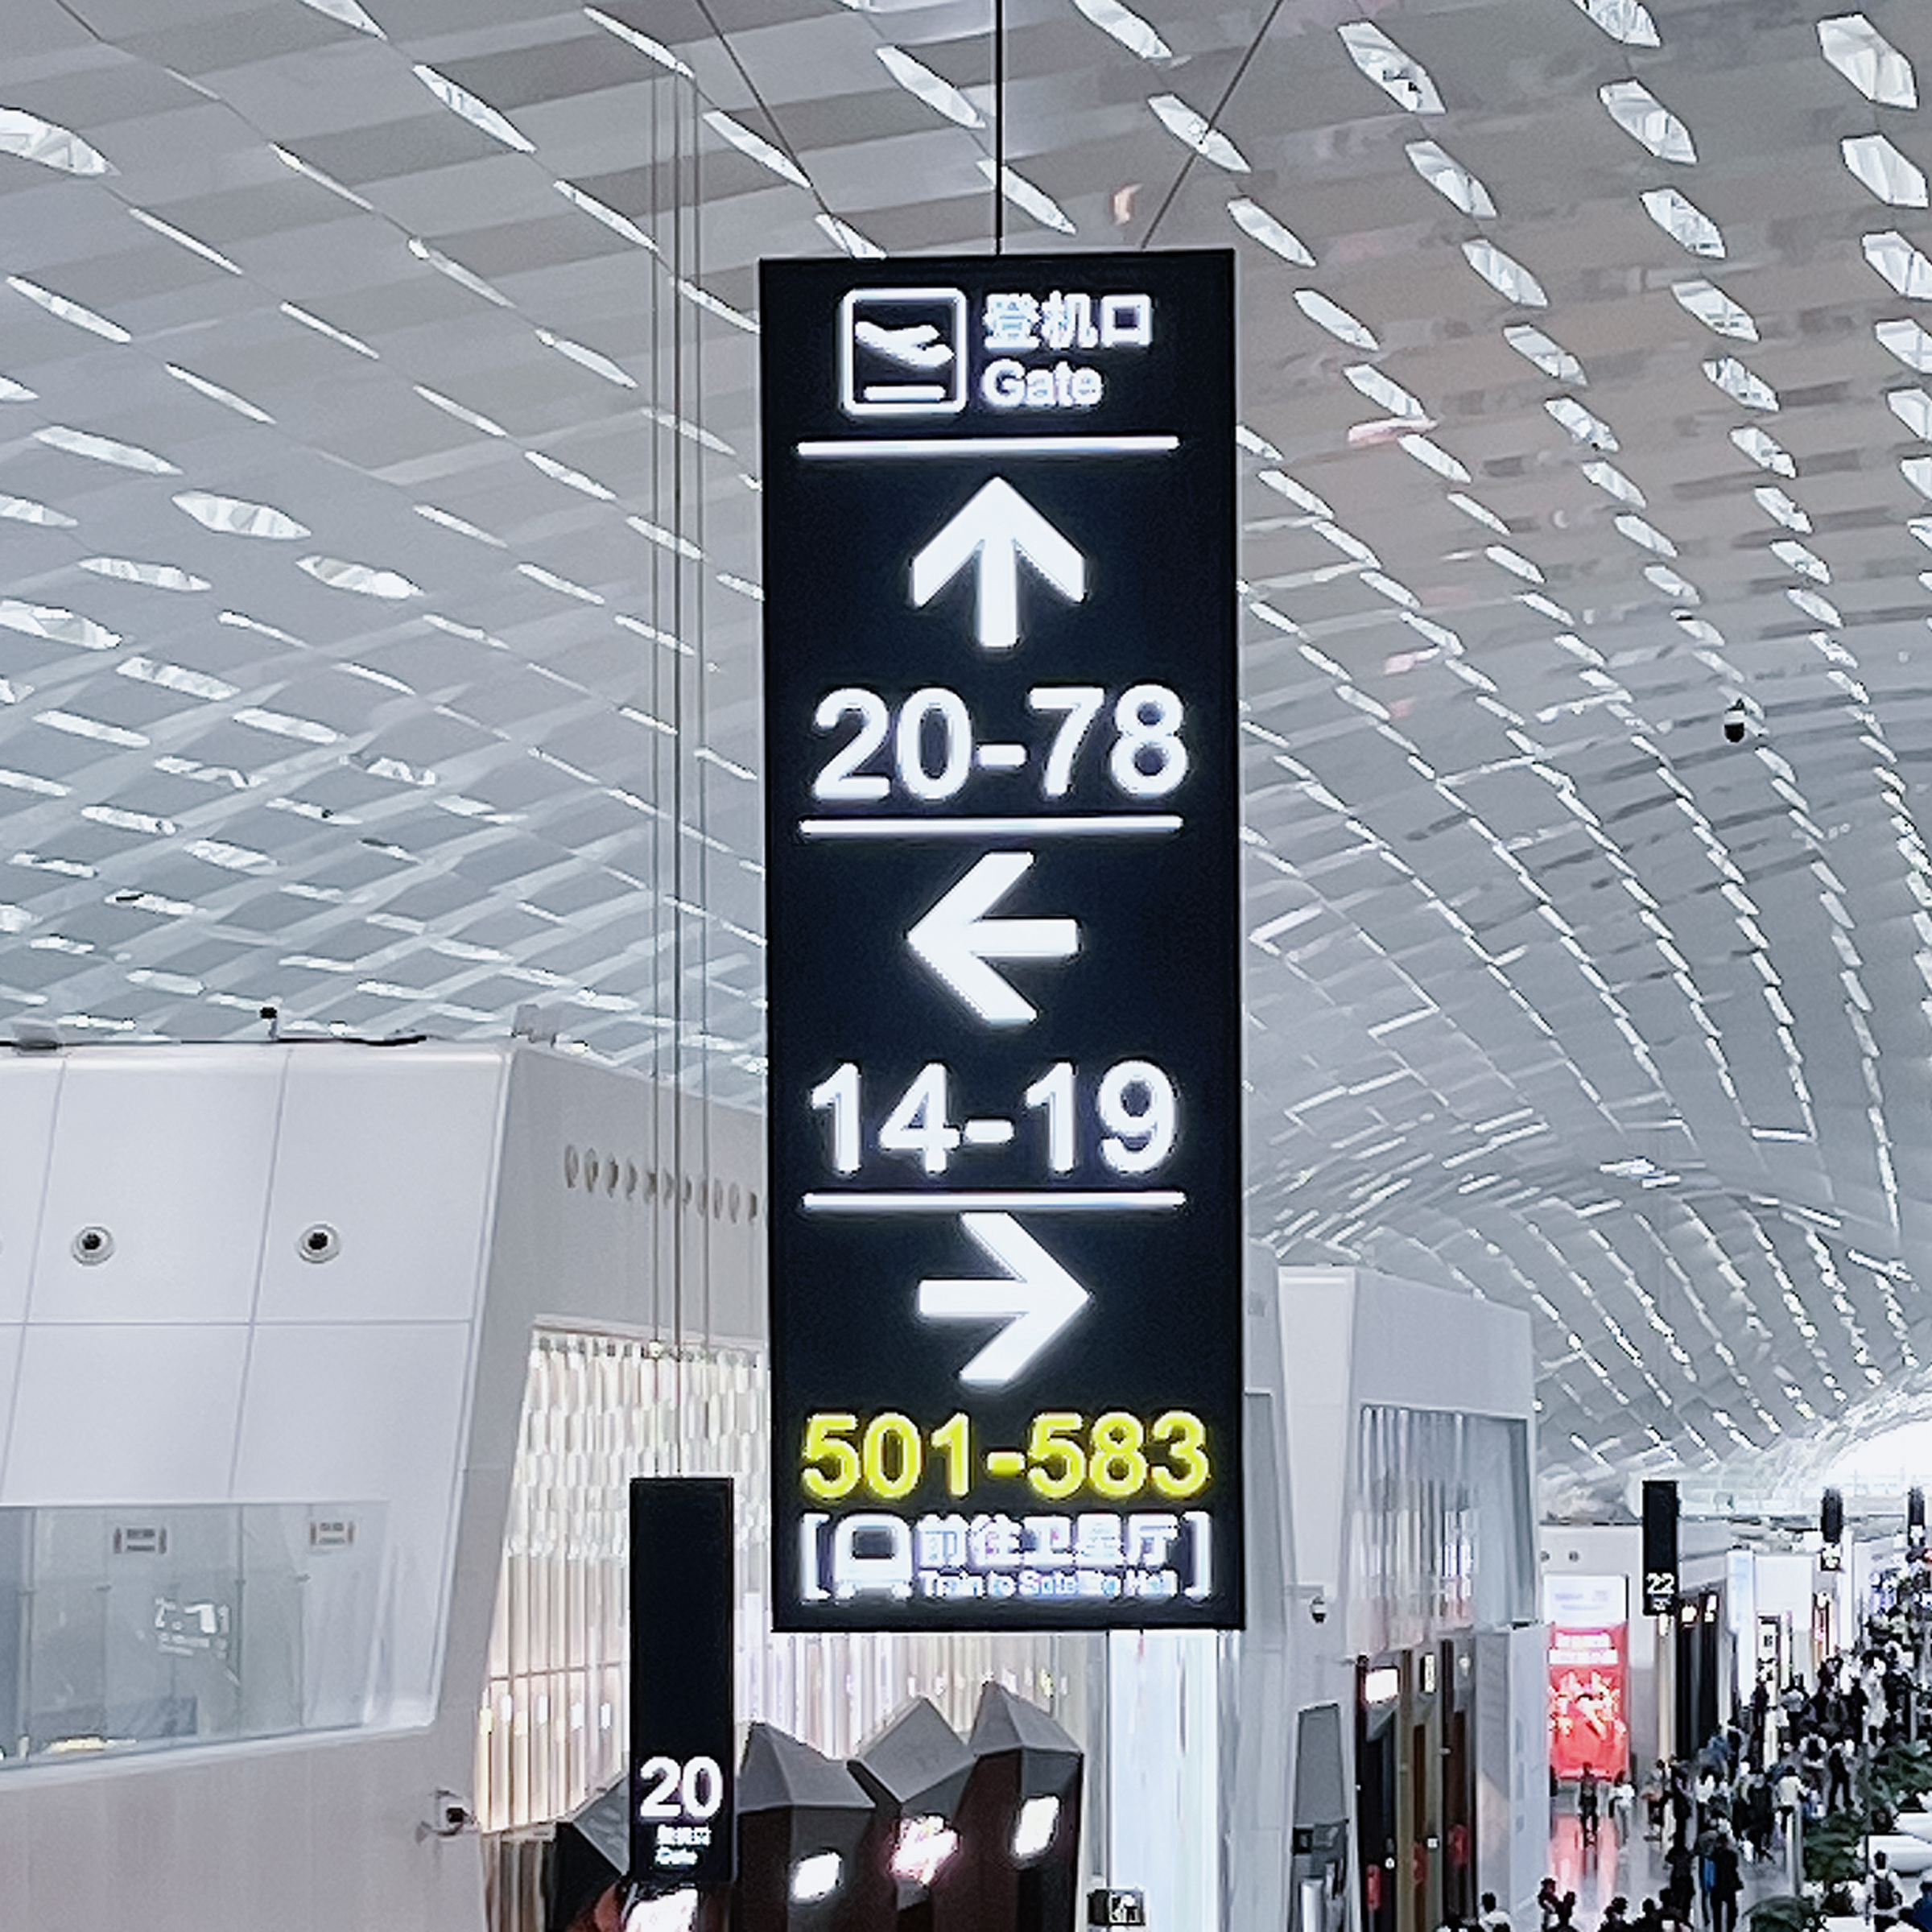
Good lighting makes information both usable and trustworthy; that’s the simple aim when you plan public transport signage or bus stop digital signage. Riders scanning timetables or route maps need consistent luminance so contrast stays high and glare stays low. Transport for London and other city systems have shown that readable displays reduce perceived wait time and improve safety, so this isn’t just aesthetic — it’s operational. Keep lux mapping and luminance front of mind from day one to avoid hotspots that confuse users rather than help them.
What to measure on site — a user-first checklist
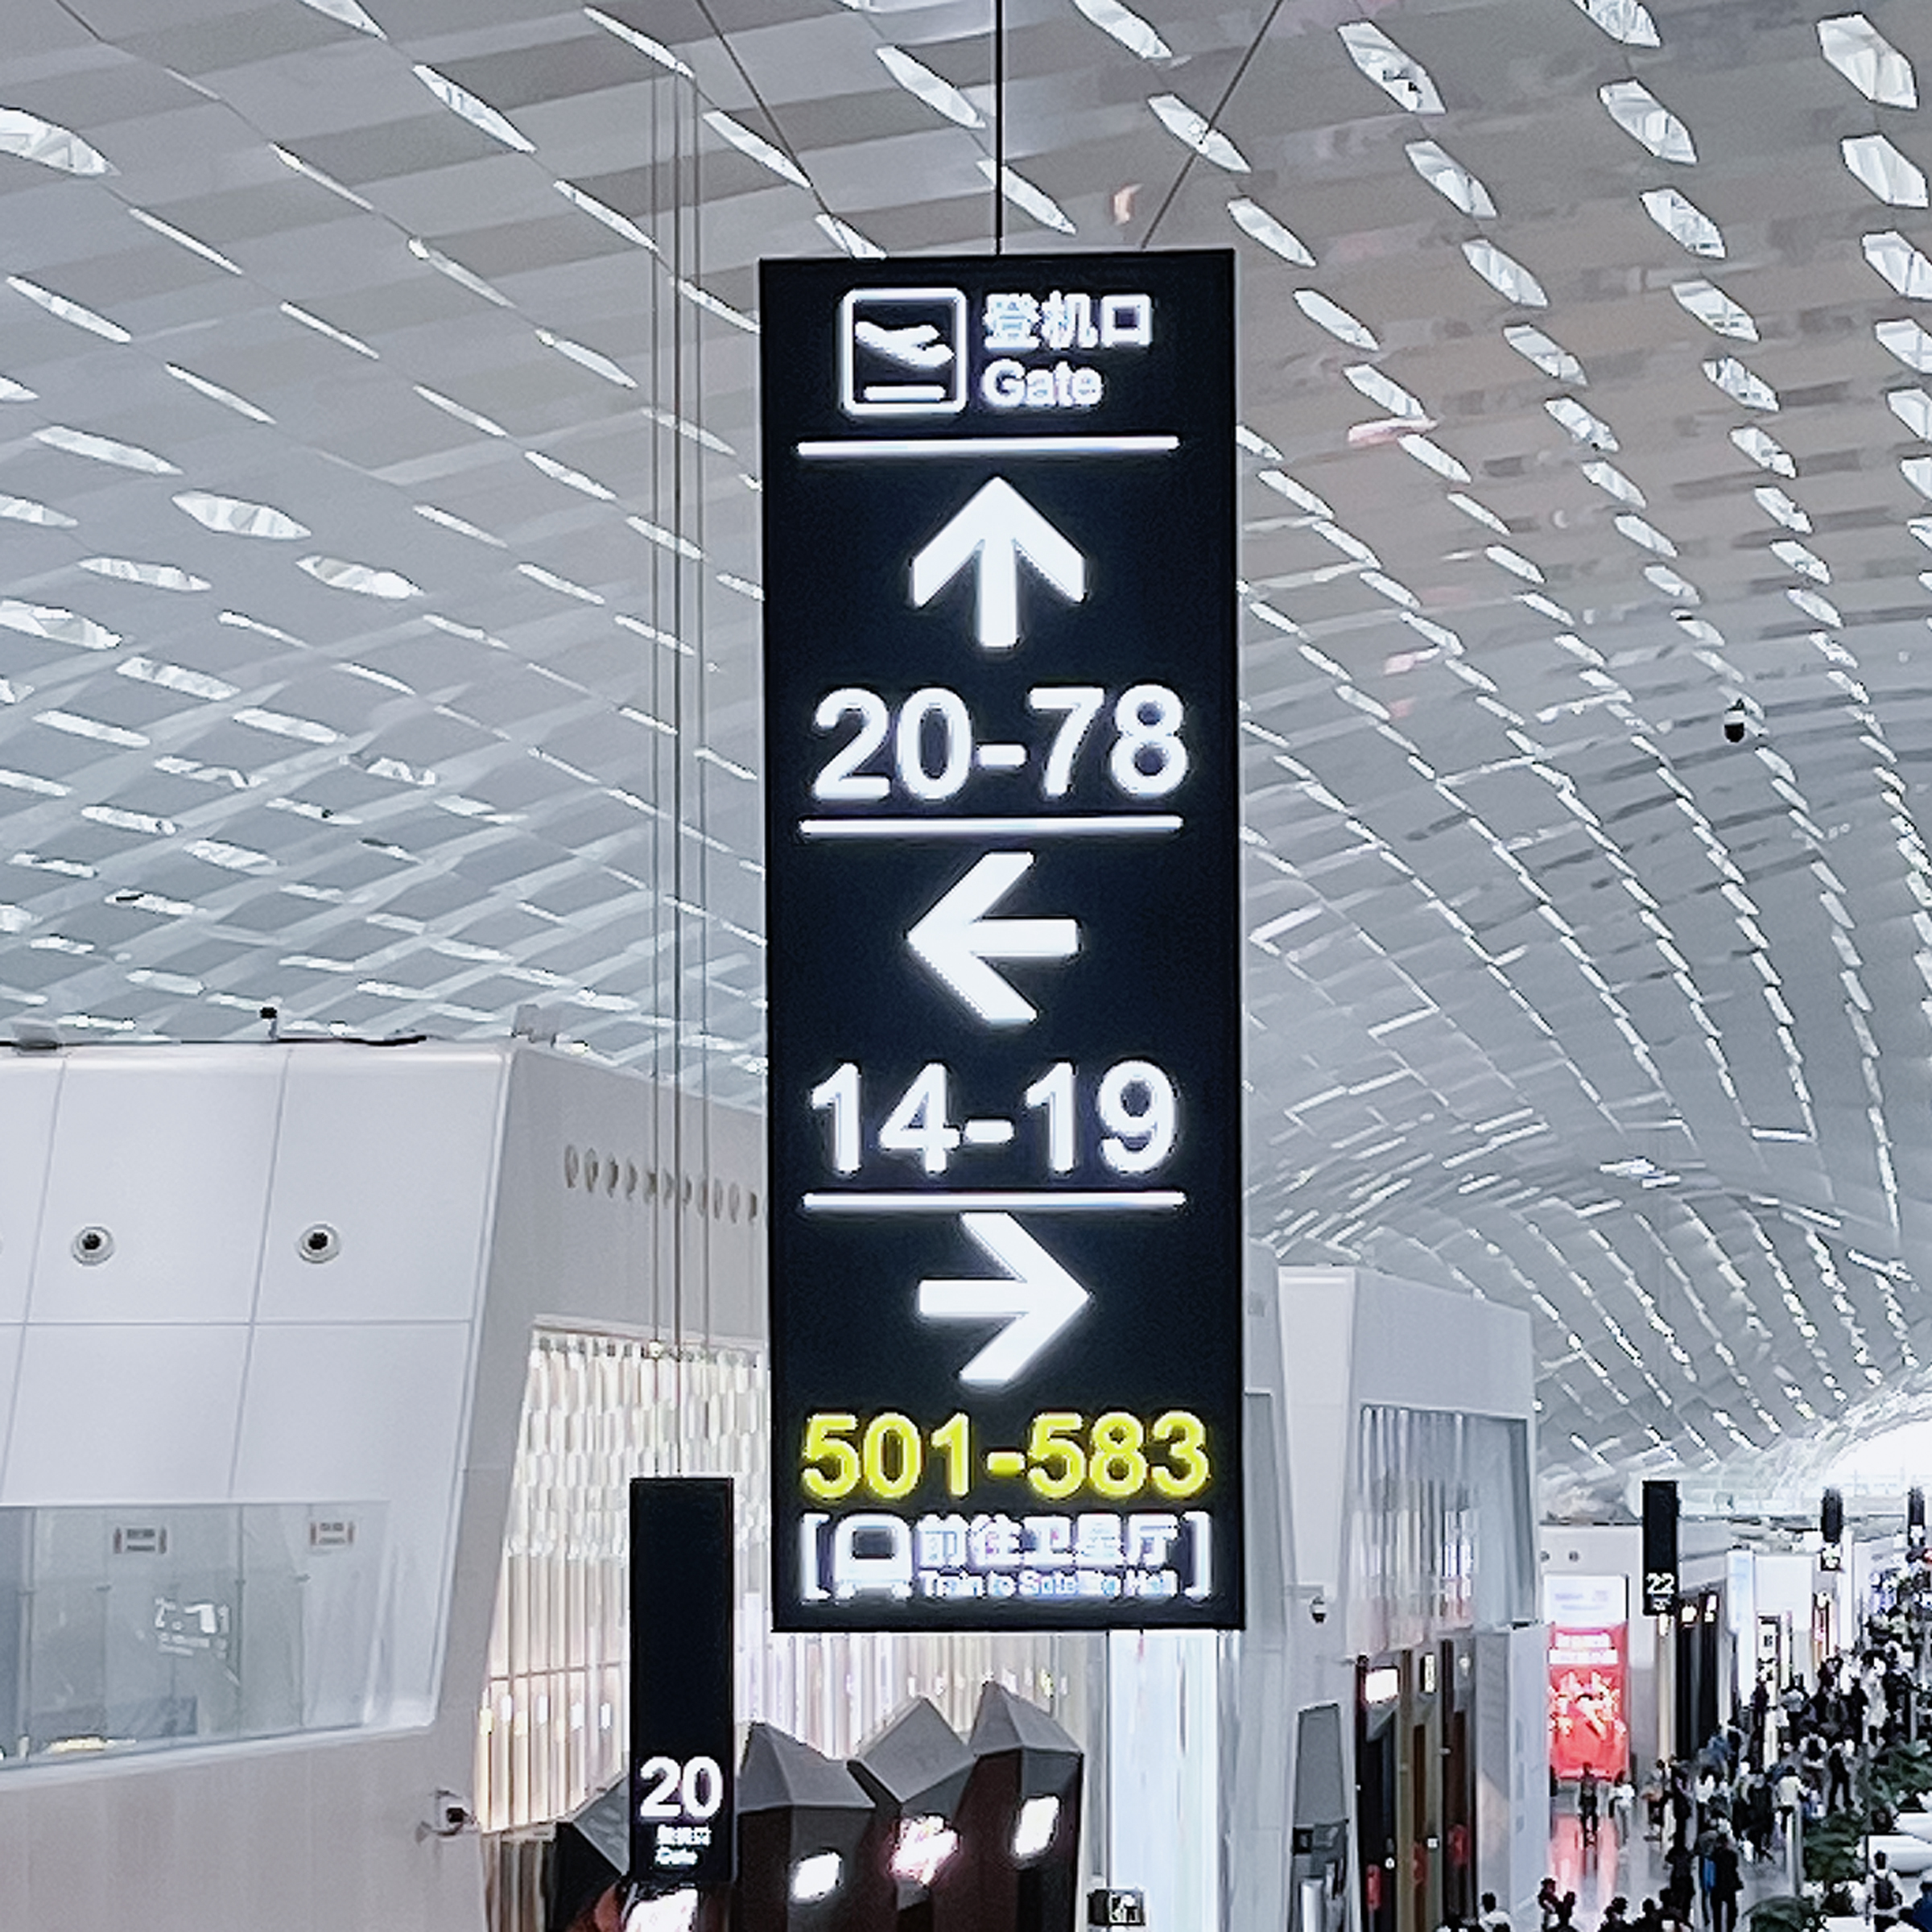
Start with simple instruments: a calibrated lux meter for ambient illuminance, a photometer for display luminance, and a tilt measure for mounting angles. Measure across typical times: dawn, noon, dusk. Map where direct sunlight hits the fascia and note reflections from nearby glass or pavements. Record ambient light sensor behavior if one is in the system — the goal is predictable contrast ratio under changing conditions. Small habits here save big headaches in deployment.
Design choices that keep text legible and skin tones natural
Choose diffusion film and anti-reflective coatings that spread backlight without cutting brightness. For outdoor panels, an LED backlight with local dimming helps maintain even luminance and reduces power use, while gamma correction preserves text clarity. Protect electronics with an IP-rated enclosure and place sensors in locations that avoid quick swings in readings. These details make the display forgiving on days when the sun decides to flirt with your shelter — they’ll thank you later.
Common mistakes and how to fix them
Many teams rush to install without a photometric study and then chase complaints. Typical errors include placing sensors too close to the screen edge, using glossy bezels that mirror headlights, and selecting contrast ratios that look fine in the lab but fail in bright city light. Fixes are usually practical: reorient the housing a few degrees, add a matte hood, or increase diffuse scattering. Small tweaks often restore legibility without a full redesign.
Testing protocol and verification — make it repeatable
Create a quick test script: capture lux grid points at 0.5 m intervals around the shelter, record display luminance at target text sizes, and photograph from typical viewing distances. Repeat after installation and season changes. Keep the results in a simple spreadsheet so trends are obvious. This makes acceptance testing objective — both teams can agree when the job is done.
Vendor selection and three critical metrics to demand
Choose vendors who will share lab-calibrated photometric maps and real-world references — not just glossy renders. Here are three metrics to require:

- Uniformity ratio (max/min luminance) across the viewing area — aim for tight numbers so hotspots are absent.
- Contrast ratio under peak ambient lux — verify legibility at worst-case daylight levels.
- Response of ambient light sensor and dimming curve — ensure smooth transitions rather than abrupt jumps.
Ask for prior site examples near busy corridors or tram stops; a vendor who documents post-install measurements demonstrates practical competence. — A caring vendor will stand by their numbers and adjust if reality differs from the lab report.
Final notes and natural fit with Cosun Sign
Photometric planning saves time, reduces complaints, and makes schedules and safety messages clearer for every rider. When you want a partner that brings lab methods to street-level installs, look for teams that combine field testing, IP-rated engineering, and clear verification protocols — a practical match you can see in completed shelters like those documented by leading suppliers. Cosun Sign fits naturally into that workflow by offering both product-level photometry and field experience. – Measure, verify, and then trust the data.
Demand clear numbers; expect consistent displays; choose partners who prove it.