
Why this problem matters
Homeowners want shade that pays the bills, but too many installs leave folks with leaky shade, poor panel performance, or failed inspections — that’s the problem I aim to pin down for you. A properly built solar pergola should give clean shade, usable power, and last through a storm. Miss one detail and the whole setup looks pretty and underperforms; miss two and you’re takin’ on repairs nobody planned for.

Where things typically go wrong
Poor roof-to-column connections that flex under wind. Panels mounted flat when a slight tilt would cut losses. Hidden, undersized conduits that trip up inspectors. Mismatched load calculations that make a structure sag years before its time. Folks often treat the solar kit and the structure like separate projects — they’re married, and problems come from treating ’em like neighbors instead.
Experience, proof, and the practical anchor
I’ve edited dozens of build case studies and seen crews correct mistakes that should’ve been obvious: reinforcing rafter ties, swapping to microinverters, and planning routing before the trim’s up. Talk to pergola designers in California, where Title 24 and local permitting steer how solar attachments are detailed, and they’ll confirm those fixes show up on most job lists. That regulatory backdrop and hands-on project work give a solid baseline for what’s required and why certain choices actually last.
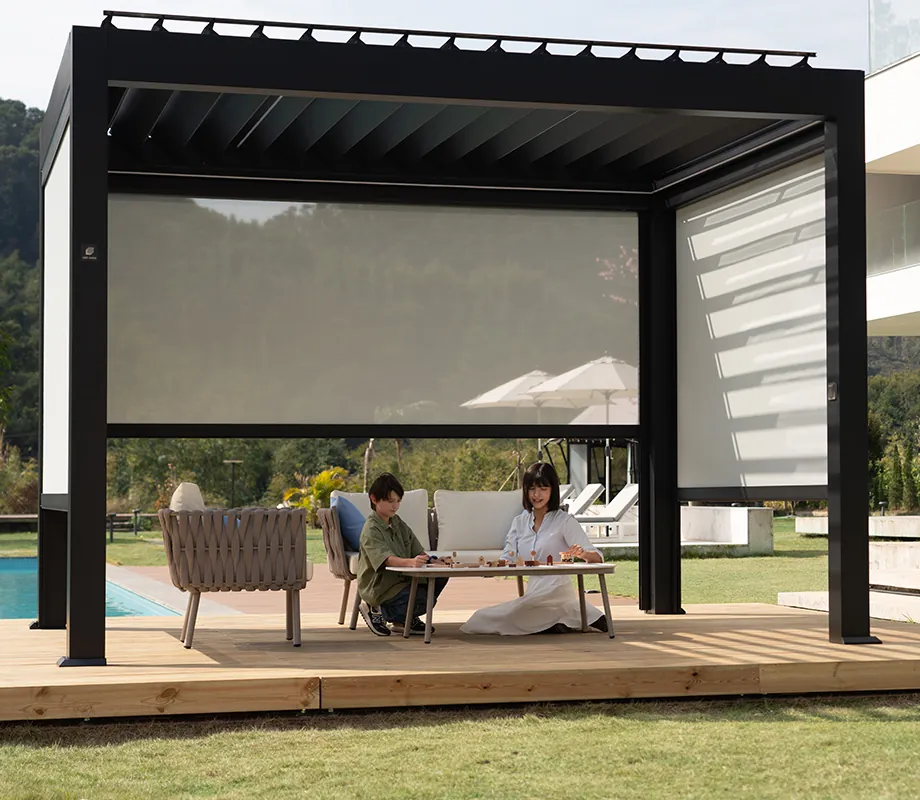
Concrete fixes you can use right now
Start with structure: specify connection hardware rated for lateral loads and add blocking under concentrated panel weights. Tilt your panels a few degrees toward optimal sun exposure for your latitude — it’s small geometry, big yield. Use microinverters or optimizers if shade’s intermittent; they keep one shaded module from dragging the whole string down. Label runs, oversize conduit where future wiring might be needed, and tuck junctions where inspectors can see ’em. Don’t ignore flashings: a neat waterproof detail at every post and beam will save weeks of headaches.
Common pitfalls and how to avoid ’em
Skipping an engineer on larger spans to save a few bucks. Assuming every panel rack fits every beam layout. Burying conduit without access, then wondering why a simple change becomes a tear-down. Relying on aesthetic trims to hide problems instead of fixing the underlying detail. Fixes: get a stamped plan when spans exceed manufacturer limits, match hardware to species and treatment of lumber, keep serviceable access, and plan aesthetic covers as the last step, not a disguise.
Quick comparison: alternatives worth considering
Rooftop solar: higher yield per panel, harder to add shade. Carport canopy: similar logic to pergolas but with larger clearances and often simpler permits for driveways. Retractable awnings with mounted panels: flexible shading, lower production. Choose based on use-case — living space and vantage favors pergolas; pure energy favors roofs or carports. Each option trades off cost, code complexity, and usable outdoor space.
How this all ties together
Fix the weak links — structure, tilt, wiring, and permitting — and a shade structure becomes reliable power that still looks like your porch. Local teams who balance build sense with electrical detail make the difference; that’s why practical partnerships with firms like Light Hunter often end up saving time and keeping projects right where they oughta be: solid, inspected, and doing the job year after year.